
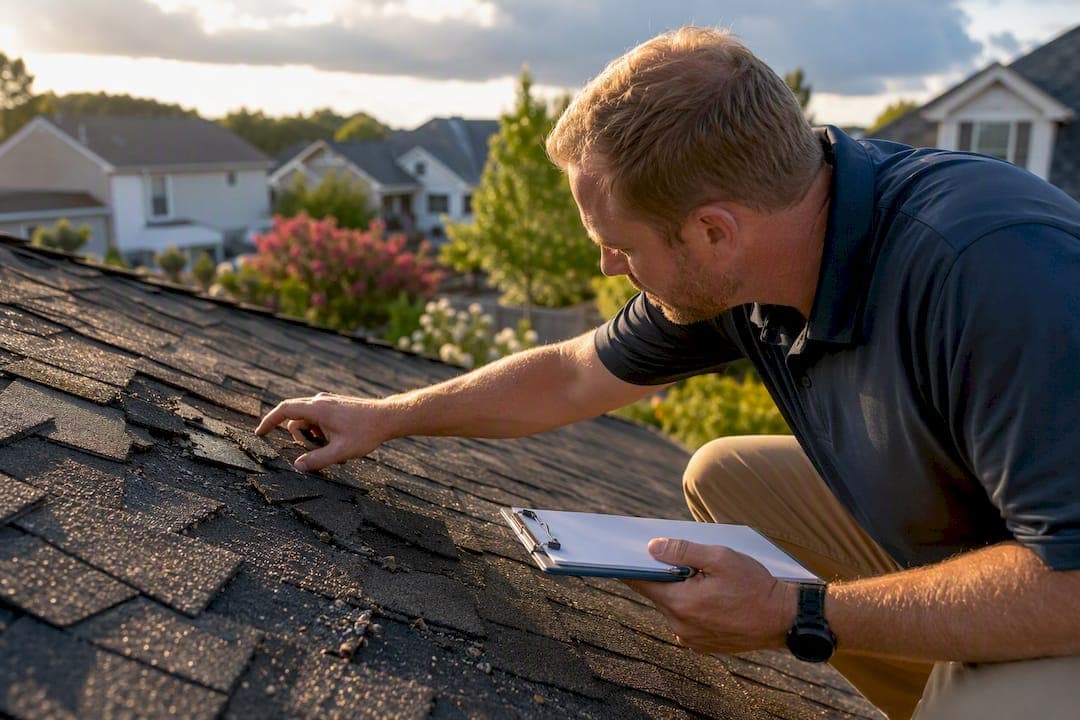
If your roof sustained storm damage, first secure safety and document the damage, then follow a staged checklist to reduce interior loss and preserve your insurance claim. That means getting everyone clear of downed lines and unstable structures, photographing everything before cleanup starts, making only safe temporary fixes, and calling your insurer and a licensed roofer promptly.
In the first hour:
- Check for downed power lines, structural sagging, or standing water before going outside.
- Move furniture and belongings away from active leaks.
- Photograph visible damage from the ground, including debris patterns in the yard.
- Note the exact time and date of the storm for your records.
Pro Tip: Photograph fallen branches, shingle fragments, and hail-dented gutters exactly where they landed before you rake or clean up. That debris pattern is often the clearest evidence an adjuster sees.
Key Takeaways
Acting fast after storm damage protects both your roof and your insurance claim, since documentation quality and inspection timing directly affect what gets covered and how much repair costs.
| Point | Details |
|---|---|
| Document before cleanup | Photograph debris, granules, and damage from multiple angles before anything gets moved or cleared. |
| Know your damage type | Wind tears, hail bruises, and water intrusion each require different repair scopes and insurance framing. |
| Inspect within one to two weeks | Evidence like loose granules and displaced debris degrades quickly, weakening your claim over time. |
| Get a written contractor report | A report with test-square counts and photos strengthens your position before the adjuster arrives. |
| Choose a full-service local roofer | Jhroof offers 24-hour emergency response, free quotes, and documented inspections across Kent. |
Table of Contents
- Types of Roof Storm Damage You Need to Recognize
- What Signs of Roof Storm Damage Should You Look For?
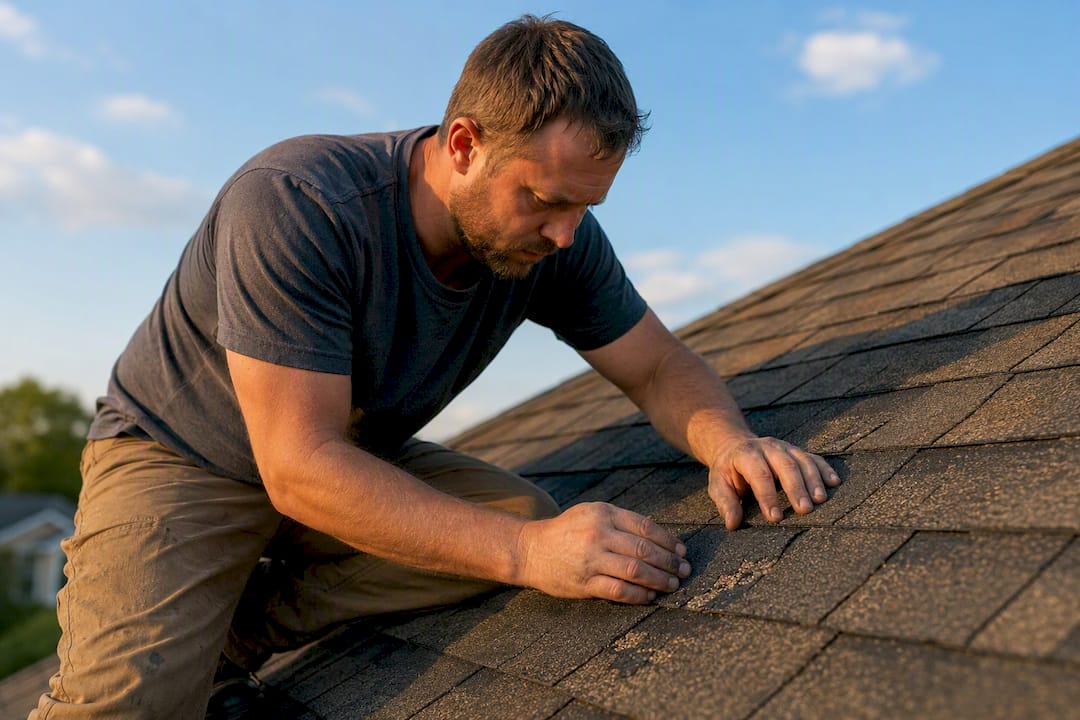
- How to Safely Perform a Preliminary Roof Inspection
- What to Do Immediately After Confirming Storm Damage
- How Does Insurance Handle Storm Roof Damage?
- How Storm Damage Looks Different by Roof Material
- What Does a Professional Storm-Damage Inspection Include?
- The Long-Term Cost of Ignoring Storm Damage
- What Roofers Wish Homeowners Understood About Storm Damage
- Get Help From J.H. Roofing After a Storm
- Sources
Types of Roof Storm Damage You Need to Recognize
Wind, hail, water, and debris each leave a different signature on a roof, and knowing which one hit yours changes how a contractor scopes the repair. Wind tends to lift shingles from the edge, creasing tabs or tearing them off entirely, usually concentrated on one slope facing the storm's direction. Hail bruises rather than tears. It knocks granules loose and can fracture the fiberglass mat underneath without ever leaving a visible hole, which is why so much hail damage goes unnoticed from the driveway.
Water damage usually follows wind or hail rather than causing damage on its own. It shows up where flashing has lifted, gutters have pulled away, or a vent boot has cracked. Debris impacts, from tree limbs to blown gravel, tend to be localized and obvious, but they can also drive fasteners loose in ways that only surface weeks later.
- Wind: torn tabs, missing shingles, exposed nail lines
- Hail: granule loss, soft spots, bruised mat
- Water: stained decking, saturated insulation, streaking on flashing
- Debris: punctures, cracked tiles, dented vents or gutters
Getting the mechanism right matters because insurers and contractors scope repairs differently depending on whether they're patching a wind tear or replacing an entire hail-compromised slope.
What Signs of Roof Storm Damage Should You Look For?
Start at ground level, then work your way to the gutters, the attic, and finally the ceilings inside. Missing shingles, creased tabs, and dented gutters are visible from the yard, and scattered granules in the grass or driveway are one of the fastest tells that hail hit your roof.
Your gutters and down spouts hold evidence too. A buildup of granules at the downspout outlet, or shingle fragments caught in the gutter screen, points to hail or advanced wind wear that a quick glance at the roofline might miss.
Inside, the clues are quieter but just as important:
- Daylight visible through the roof decking in the attic
- Wet or matted insulation, even without an obvious drip
- New ceiling stains that weren't there before the storm
- A musty smell that suggests trapped moisture
When you photograph damage, take one wide shot for context and several close-ups of each problem area, along with anything that helps establish the storm's timing, like a fallen tree limb still resting on the roof.
Pro Tip: Bruised shingles from hail often look like nothing more than a dark smudge. Press gently on the spot with your palm from a stable ladder position. If it feels soft or spongy rather than firm, the mat underneath has likely fractured.
How to Safely Perform a Preliminary Roof Inspection
You can gather a lot of useful information without ever setting foot on the roof, and for most homeowners, that's exactly where the inspection should stop.
- Walk the perimeter of your house and use binoculars to scan each slope for missing shingles, lifted flashing, or dented vent caps.
- Check your attic with a flashlight, looking for daylight through the decking, damp or discolored insulation, and water tracks running down the rafters.
- Note anything unusual, sagging spots, active drips, or a strong musty odor, and mark the general location for your contractor.
Skip the climb if the roof is wet, steep, or if you see any sign of structural sag. Downed power lines nearby are an automatic no. These conditions are exactly why professionals exist.
A roof that looks fine through binoculars can still hide fractured shingle mats or loosened fasteners that only a hands-on, roof-level inspection will catch. If your ground and attic check turns up anything questionable, schedule a professional inspection rather than guessing at the scope yourself.
What to Do Immediately After Confirming Storm Damage
Once you've confirmed damage, the next 24 to 72 hours matter more than any other stretch of the repair process, because evidence like loose granules and displaced debris degrades quickly.
- Document everything: wide context photos, close-up shots, and a short video walkthrough of both the exterior and any affected interior rooms.
- Call your insurer to open a claim and get a claim number on record while details are fresh.
- Contact a licensed roofer for a full inspection, ideally before or alongside the adjuster visit.
- Arrange emergency tarping only if there's an active leak or exposed decking, not as a substitute for permanent repair.
Your documentation checklist should include:
- Timestamped photos and video from multiple angles
- Interior stains, drips, or damaged belongings
- Local storm reports or timing that ties damage to a specific date
- Receipts for any emergency work, including tarping materials or labor
Resist the urge to authorize full repairs before a contractor has assessed the entire scope. Emergency tarping stabilizes the situation, it doesn't replace a proper roof-level review, and permanent work done too early can complicate what your insurer will cover.
Pro Tip: Ask your roofer for a written inspection report before your adjuster visit, or invite the contractor to walk the roof with the adjuster directly. A documented report with photos tends to move claims along faster than a verbal description alone.
How Does Insurance Handle Storm Roof Damage?
Most homeowner policies cover sudden, accidental events like wind, hail, and falling debris, but they routinely exclude damage tied to wear, age, or deferred maintenance. That distinction is exactly what an adjuster is checking for when they walk your roof.
You'll also want to understand the difference between replacement cost value (RCV) and actual cash value (ACV). RCV pays what it costs to replace the roof today, while ACV factors in depreciation based on your roof's age, which can leave you covering a larger share out of pocket on an older roof.
Typical claim timeline:
- Initial inspection scheduling: a few days to a week after you file
- Adjuster visit and scope review: often within one to two weeks
- Claim decision and payout: varies by insurer, generally two to four weeks after inspection
Cost ranges to expect, which vary widely by severity and roof size:
- Minor spot repairs (a few shingles, flashing resealed): a few hundred dollars
- Partial slope replacement: a few thousand dollars
- Full roof replacement: can run into five figures depending on materials and square footage
Statistic Callout: Storm-related damage is one of the more common triggers for property insurance claims tied to sudden weather events, and insurers weigh the cause of loss heavily when deciding what's covered. Schedule your inspection within one to two weeks of the storm whenever possible. Granules wash away in rain, debris gets cleared, and the longer you wait, the harder it becomes to prove exactly what the storm did.
How Storm Damage Looks Different by Roof Material
The material on your roof changes both what damage looks like and how a contractor approaches the repair.
- Asphalt shingles: granule loss, creased tabs, and missing shingles are the most visible cues, and they're also the easiest for a contractor to spot-repair if the damage is contained.
- Tile (clay or concrete): cracked, chipped, or displaced tiles can expose the underlayment beneath, and even a single broken tile left unaddressed invites water intrusion.
- Metal roofs: look for dents, loosened fasteners, or panel seams that have separated, since metal shows impact damage cosmetically before it fails functionally.
- Wood shingles and shakes: splitting, punctures, and accelerated granule-like wear raise the risk of rot if moisture gets behind the surface layer.
- Slate: cracked or slipped slates require specialized handling, since matching material and re-securing slates isn't a job for a general contractor unfamiliar with the format.
What Does a Professional Storm-Damage Inspection Include?
A trustworthy contractor follows a defined workflow, not a rushed walk-around. It starts with emergency stabilization, tarping active leaks or exposed decking, followed by a full roof-level inspection covering every slope.
From there, many contractors run a test-square analysis: marking off a 10-foot by 10-foot section and counting hail strikes within it to establish damage density. Higher strike counts typically support a broader replacement scope rather than a spot repair, so it's worth asking your contractor for those counts directly. The inspection continues into the attic, checking for daylight, moisture, and structural stress, and wraps up with a written report and photo documentation you can hand to your insurer.
- Emergency tarping and stabilization
- Full slope-by-slope roof inspection
- Test-square hail strike counts
- Attic and interior moisture check
- Written report with dated photos
Jhroof provides this kind of documented process on every storm call, backed by a 24-hour emergency response and free, no-obligation quotes across Kent.
Pro Tip: When comparing estimates, line up the scope of work side by side, not just the bottom-line price. A cheaper quote that skips flashing repair or underlayment replacement often costs more once the real damage surfaces.
A written report that includes test-square counts and attic findings gives an adjuster far less room to dispute the scope than a verbal walk-through ever will.
The Long-Term Cost of Ignoring Storm Damage
Roof damage that looks minor rarely stays that way. A single cracked tile or a bruised shingle can let moisture into the decking months before you ever see a ceiling stain, and by the time water reaches the interior, the wood underneath has often been saturated for weeks.
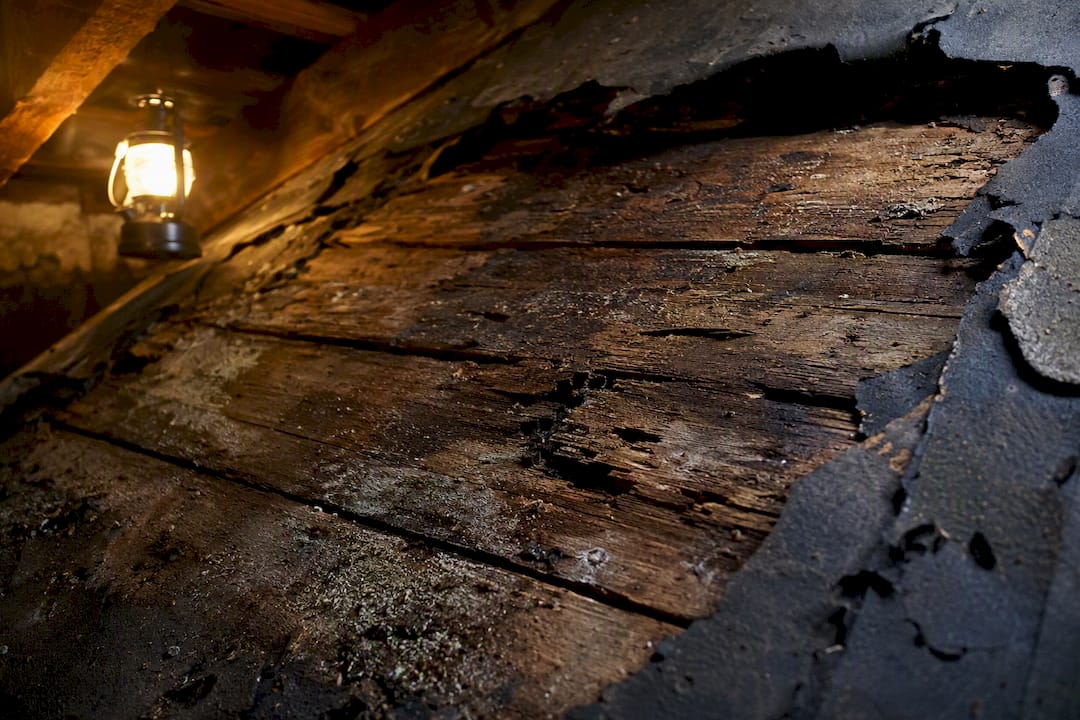
Left unaddressed, small entry points expand. Wet decking loses structural integrity, insulation loses its R-value once soaked, and mold can establish itself in wall cavities long before it's visible. What would have been a $400 shingle repair right after the storm can turn into a $4,000 decking replacement a year later, and in severe cases, deferred damage compromises the roof's ability to shed water at all, accelerating failure across the whole slope rather than just the original impact area.
Insurance makes this worse, not better, if you wait. Policies commonly deny claims tied to gradual deterioration or lack of maintenance, which means the same crack that would have been covered immediately after the storm can be reclassified as a maintenance issue six months later. Delayed symptoms are common enough that homeowners frequently mistake old storm damage for a new seasonal problem, missing the claim window entirely.

The fix isn't complicated: inspect promptly, document immediately, and treat "it's probably fine" as a decision that has a shelf life.
What Roofers Wish Homeowners Understood About Storm Damage
The pattern I see most often is homeowners treating the emergency tarp as the finished job, when it's really just the first phase. Damage that looks cosmetic on the surface, a few missing shingles here, some dented gutter there, frequently hides compromised decking underneath once a contractor actually pulls back the affected section.
I've seen "minor" hail bruising dismissed after a ground-level look, only for a test-square count to reveal enough strike density to justify replacing the whole slope. If you've had any storm event strong enough to notice, get a contractor on the roof before you assume the damage is contained.
Get Help From J.H. Roofing After a Storm
Storm damage rarely waits for a convenient time, and neither should your inspection. Jhroof runs a 24-hour emergency response across Kent, so when a storm leaves your roof exposed, you're not stuck waiting days for someone to even look at it.

Jhroof's storm-response work covers emergency tarping to stop active leaks, full roof-level inspections with written reports, drone surveys for hard-to-reach or steep slopes, and support pulling together the documentation your insurer will want to see. From there, the team handles everything from targeted repairs to full re-roofs, including flat roof replacement and specialized work like traditional Kent peg tile roofing. Every job starts with a free, no-obligation quote, and the company's 4.7-star Google rating reflects a decade of local homeowners trusting the crew with exactly this kind of work.
If you've spotted any of the signs covered above, missing shingles, granule buildup, attic staining, don't sit on it. Request a free roofing quote or call the emergency line to get a contractor on your roof and a written report in hand before you talk to your adjuster.