
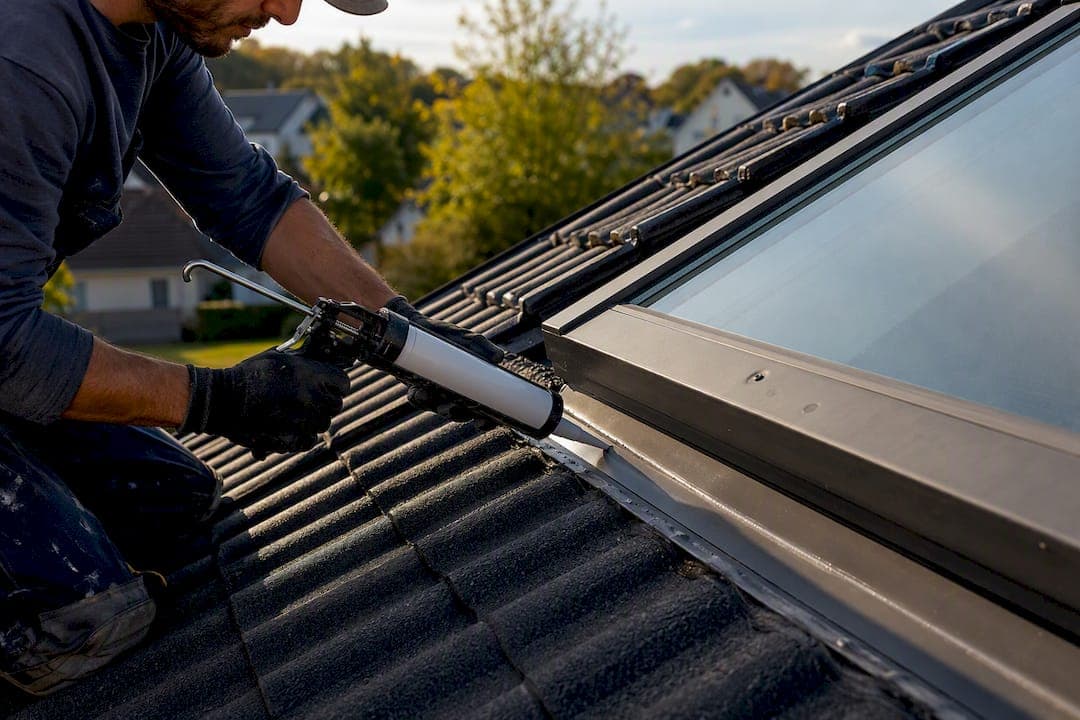
If your skylight is leaking around the edges and the flashing still looks intact, careful skylight leak repair using fresh sealant usually solves it. If water is tracking in from behind cracked flashing, a rotted deck, or a fogged glazing unit, you need a licensed roofer, not another tube of caulk.
Right now, before you diagnose anything:
- Place a bucket or towel to catch active dripping and protect flooring or furniture below.
- Photograph the stain and any visible damage for insurance and warranty records.
- Avoid climbing onto a wet or steep roof alone.
Pro Tip: Persistent indoor moisture raises mold risk fast, according to CDC guidance on mold and health, so treat any active leak as a same-week priority, not a someday project.
Key Takeaways
A successful skylight leak repair depends on correctly diagnosing flashing versus sealant failure before choosing between a DIY reseal and a professional reflash.
| Point | Details |
|---|---|
| Diagnose before you fix | Follow water stains in the attic and run a hose test to confirm the exact entry point. |
| DIY works for sealant-only leaks | Full removal of old caulk, clean prep, and proper tooling stop most small perimeter leaks. |
| Flashing failure needs a pro | Bent, rusted, or wrong-sequence flashing requires professional reflashing, not more sealant. |
| Budget by repair type | DIY materials run $10 to $75; full replacement can reach $2,800 or more. |
| Jhroof handles the full range | From flashing reseal to complete skylight replacement, with free quotes and 24-hour emergency response across Kent. |
Table of Contents
- Diagnosing a Skylight Leak: Condensation or the Real Thing?
- How to Reseal a Leaking Skylight Yourself
- When Should You Call a Roofer Instead of Resealing?
- Skylight Maintenance That Prevents the Next Leak
- Get a Professional Skylight Repair Quote From J.H. Roofing
- Sources
Diagnosing a Skylight Leak: Condensation or the Real Thing?
Fogged glass that clears by midmorning is usually condensation, common in bathrooms, kitchens, or poorly ventilated attics. A true leak shows up differently: water appears during or right after a storm, follows a stain trail down one side of the frame, and often gets worse with wind-driven rain.
Work through the inspection in this order:
- Check the ceiling pattern. A leak usually leaves a stain radiating from one corner or side of the skylight shaft, while condensation drips more evenly from the glass itself.
- Get into the attic. Follow the water stain upward along the framing and insulation. Wet insulation or dark streaks on the decking point you toward the entry path, which is not always directly above the ceiling stain.
- Inspect the roof-side flashing. Look for cracked sealant beads, lifted shingle tabs, rusted or bent flashing, and weep holes clogged with debris or granules. Most skylight leaks trace back to flashing failure rather than a defective unit, according to Lifetime Xteriors.
- Run a hose test. With a helper stationed in the attic, spray sections of the flashing and frame separately, starting low and working up, until the helper spots the exact entry point.
Pro Tip: Test one section at a time and wait a few minutes between each. Water can travel several feet before it drips, so rushing the hose test almost always misdiagnoses the source.
How to Reseal a Leaking Skylight Yourself
If your inspection points to a failed sealant bead and the flashing itself is straight, rust-free, and properly layered, a DIY reseal is a reasonable weekend project.
Safety first. Only attempt this if your roof pitch is gentle, you're steady on an extension ladder, and the surface is dry. Roof falls are a leading cause of DIY injury, and no repair is worth a trip to the emergency room. If your roof is steep, wet, or you feel unsteady at height, stop and call a roofer.
Tools and materials: exterior-rated flashing sealant (polyurethane or butyl, not general-purpose caulk), a putty knife or scraper, isopropyl alcohol or mineral spirits for cleaning, backer rod for gaps wider than a quarter inch, and a caulking tool or gloved finger for tooling the bead.
Preparation matters more than the sealant itself. Clear leaves and debris away from the frame, gently lift any shingle tabs overlapping the flashing, and scrape out every bit of old, cracked sealant. Skipping full removal is the most common reason a reseal fails within a season, since new sealant won't bond properly over old residue. Clean the surface with alcohol and let it dry fully before applying anything, following the same prep approach GE Sealants recommends for lasting results.
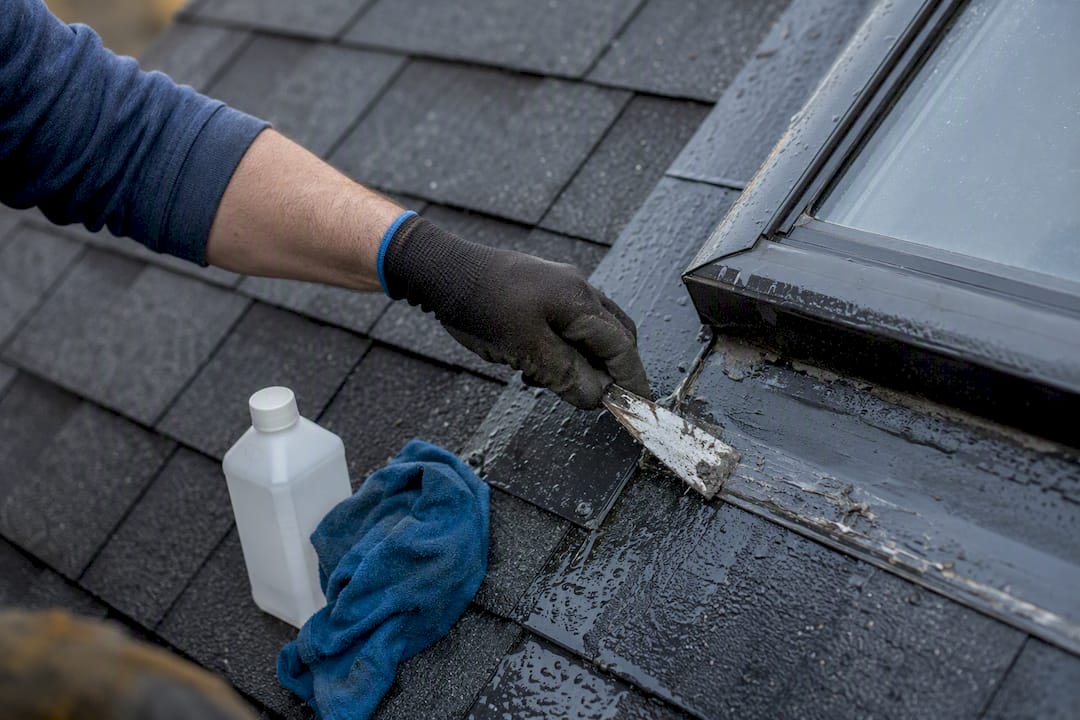
Applying the new bead: Insert backer rod into any gap wider than what a bead alone can bridge, then apply sealant in one continuous pass rather than starting and stopping. Tool the bead immediately with a wet finger or tool for a smooth, adhered surface, and never seal over or block weep holes, which let trapped moisture drain out. Give the sealant its full cure window, typically 24 to 48 hours, and avoid scheduling this on a day with rain forecast.
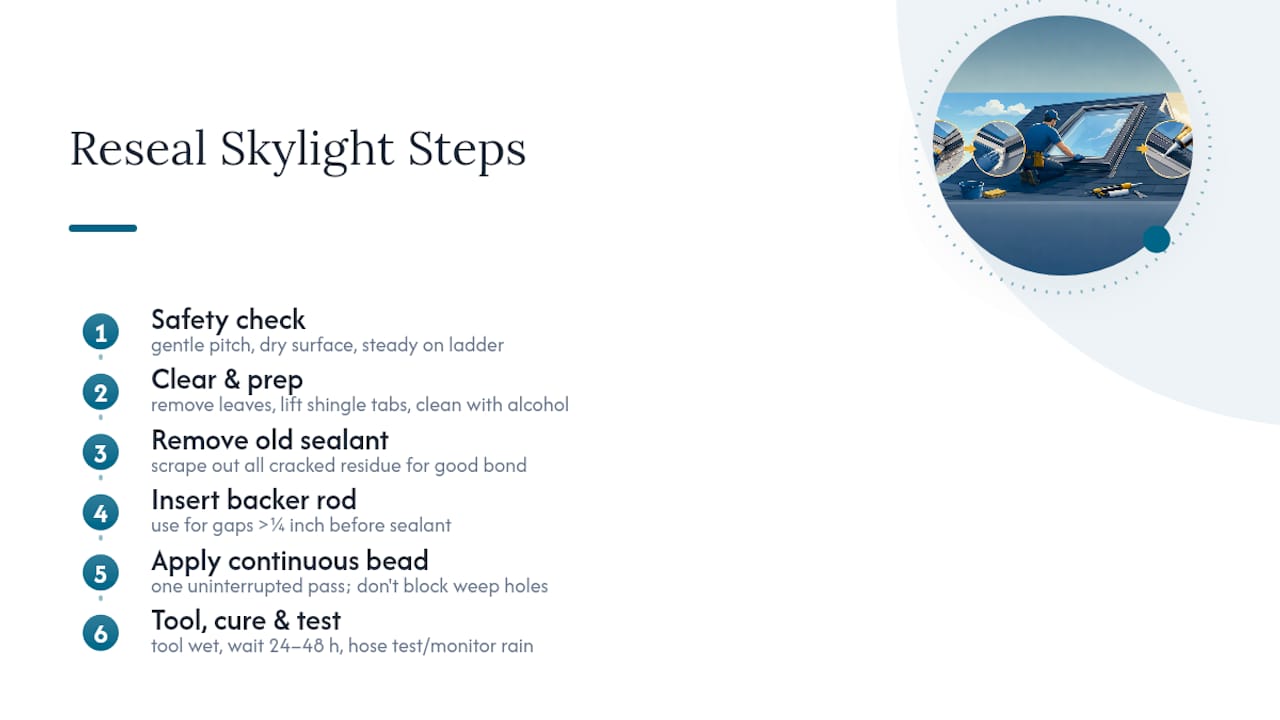
Verify before you call it done. Repeat the hose test with your helper in the attic. Watch the next real rainfall closely, too. A reseal that holds during a hose test but fails during wind-driven rain usually means the flashing itself, not the sealant, is the actual problem, which is a sign to stop patching and call a professional.
When Should You Call a Roofer Instead of Resealing?
A reseal only fixes surface-level sealant failure. Certain signs mean the problem is structural, and no amount of caulk will hold:
- Rotted or soft decking around the skylight shaft.
- Bent, rusted, or incorrectly layered flashing (flashing must go on in sequence, bottom piece first, then sides, then top; reversing that order lets water in no matter how much sealant you use, per Lifetime Xteriors).
- Fogging between the glass panes rather than on the interior surface, which means the insulated glazing seal has failed and the unit itself needs replacing.
- A leak that returns within a few months of a fresh reseal.
Here's roughly what each level of repair costs. DIY materials for a basic reseal run $10 to $75. A simple professional reseal typically costs $75 to $225. Full flashing replacement, which involves removing shingles and installing a new flashing kit in the correct sequence, runs $500 to $1,000 or more. A full skylight replacement, glazing and frame included, lands between $1,000 and $2,800 or higher depending on unit size and roof access.
Professionals also carry the ladder and fall-protection gear that make steep or high roof work far safer than a homeowner attempting the same climb solo, and reputable repairs typically come backed by a workmanship warranty that a DIY fix never carries.
Skylight Maintenance That Prevents the Next Leak
A short annual routine catches most problems before they become ceiling stains:
- Clear leaves, moss, and granules off the skylight and surrounding roof field every fall and spring.
- Check sealant beads for hairline cracks and refresh small sections before they widen.
- Clear weep holes so trapped water can drain instead of backing up under the flashing.
- Inspect flashing and shingles uphill of the skylight, since damage there often channels water down into the unit.
- Improve attic ventilation if you're seeing recurring condensation rather than storm-linked leaks.
Most skylights last many years before glazing seals or frame seals start failing on their own, independent of flashing issues. If yours is approaching that age and showing recurring problems, plan replacement rather than repeated patching.
Pro Tip: If you're already scheduling a roof replacement or major repair, replace an aging skylight at the same time. Manufacturers like VELUX tie warranty coverage to correct flashing kit installation, and doing both jobs together avoids a warranty gap on either the roof or the skylight, as VELUX explains.
Why J.H. Roofing's Track Record Matters Here
Jhroof has spent over 10 years handling flashing and skylight repairs across Kent, backed by a 4.7-star Google rating and full insurance on every job. Their flat roof replacement case study in Kent shows the kind of careful, sequenced flashing work that separates a lasting repair from a temporary patch.
- Family-owned, insured, with over a decade of hands-on roofing experience in Kent.
- 24-hour emergency response for active leaks that can't wait for a scheduled appointment.
- Free, no-obligation quotes before any work begins.
A licensed roofer who installs flashing in the correct sequence the first time saves you from paying for the same repair twice.
A Roofer's Honest Take on Skylight Leaks
The mistake I see most often is homeowners resealing the same spot three or four times over two years instead of asking why it keeps failing. That pattern almost always means a flashing or roof-field issue, not a sealant issue, and no amount of fresh caulk fixes a structural cause.
Safety comes before speed. Keeping dated photos and repair records also protects you if you ever need to file an insurance or warranty claim.
— Gabbi
Get a Professional Skylight Repair Quote From J.H. Roofing
If your skylight leak points to flashing failure, a fogged glazing unit, or roof decking damage, Jhroof handles the full range of fixes, from a targeted flashing reseal to complete skylight replacement, with the same crews who've spent over a decade working Kent rooflines.

Every job starts with a free, no-obligation inspection, and active leaks get priority through Jhroof's 24-hour emergency repair service. While you're up there, it's also worth clearing gutters and fascias near the skylight, since pooling water nearby often finds its way into the same weak points; a partner guide on maintaining fascias and guttering covers the basics. For a fast estimate on flashing repair, glazing replacement, or a full skylight swap, use Jhroof's Roof Quote Calculator to get a same-day figure backed by insured, warranty-covered workmanship.